logo
Posted by rolling circle | 08-09-2018 @ 03:26 PM | 32,076 Views
Cody did it again... this little tri plane is sick. Flies 3D, has good wheels, floats well... Its a winning setup once again

The Lil Fokker Vid (4 min 9 sec)

Posted by PilotoX | 08-06-2018 @ 11:26 PM | 26,027 Views
Electric Powered Model Airplane RC Microlight Weight Shift Control by Robotic Fully Articulated Pilot. Video compilation of test flights done with an older MIA Micro-FLIGHT EZ™ Trike blue wing and MIA Robo™pilot figure mechanics, and, as recently finished, with new white and black wing and full pilot mechanics and detailed body.


RC Microlights:
http://www.rcmicrolights.com
MIA Micro-FLIGHT:
http://www.micro-flight.com

RC Microlight Model Airplane Weight Shift Direct Control by Robotic Pilot (1 min 49 sec)

Posted by PilotoX | 07-27-2018 @ 05:33 PM | 26,833 Views
2018 Version fo the original MIA Robo™ Pilot figure included with the 52" wing span MIA Robo™ Tikes, but enhanced with additional articulation for the 60" wing span MIA EZ™ Trikes, 1.25 size.

Category: Pilot Figures
Type: MIA 1.25 Size “Custom” Robotic -Full Articulation
Construction: Bolt-On Kit
Tools required: Small Phillips screwdriver
Assembly Time: One evening, depends on user skill
Materials: 3D Printed Parts,Molded Plastic, with Steel Hardware
Control Type: Robotic via RC Servos with Proprietary MIA Robo™ Pilot Geometry
Body Color Options: Yellow, Blue, Red, Orange, Green, Black, White

Height: 14″
Weight: 10 Oz.

Includes: MG Servos

Requires: MIA EZ™ Trike 1.25 Size RC Microlight

www.rcmicrolights.com
Posted by Ethan Ater | 07-26-2018 @ 11:31 AM | 30,755 Views
Always relaxing to fly the Mikado Logo 690SX on low headspeed with a single 6s battery.

Around 1100 RPM's on this setup. Safe to say that this heli is ready for IRCHA 2018!

Mikado Logo 690SX Low Headspeed (3 min 34 sec)

Posted by PilotoX | 07-24-2018 @ 06:53 PM | 25,306 Views
When was the last time you tried an RC model that was:
  • Nearly indestructible
  • Engulfed you in a new rc model flying experience
  • Gave you a rush of excitement
  • Satisfied your rc flying senses
  • Placed you as the focal point at your local flying field?
If you haven't, look into some of the models I design and offer, they do exactly that.


RC Microlight MIA EZ™ 1. 25 Trike An First of a Kind MIA Invention Revised for 2017 (8 min 15 sec)


I design and offer in bolt-on kit form "true weight-shift controlled" rc microlight models,
as well as the more traditional 3-axis ( Elevator, Rudder Aileron) scale model aircraft.

What makes my designs stand out is, not only their unique form of control, as used on my rc microlights,
but the way I use materials and design the structures.

They are:
  • Well Thought Out
  • Meticulously Engineered
  • Clean, Refined Design
  • Ultra Light-weight
  • Durable and Crashproof
  • Efficient and High Performing
  • Realistic
  • A Great Platform for Aerial Photography and FPV
... and they typical raise eyebrows, especially when they appear in areas that people fly the more typical rc aircraft.

Let me introduce my latest designs and a bit about myself:


http://www.rcmicrolights.com/about-rc-microlights/
http://www.rcmicrolights.com/about-mario-i-arguello/
Posted by SSKILLER | 07-21-2018 @ 10:25 PM | 22,769 Views
I will be putting in some of the ProModeler DS180DLHV servos in my Pitts S2S. I wanted something that would have decent torque as well as speed. A fellow flyer told me of this company. This will be a first for me with high voltage as I normally run life batteries. I like the fact that they should be quiet and chatter free. Time will tell. I will post pictures and videos as I get into it.
Posted by pittsartist | 07-11-2018 @ 04:45 AM | 23,567 Views
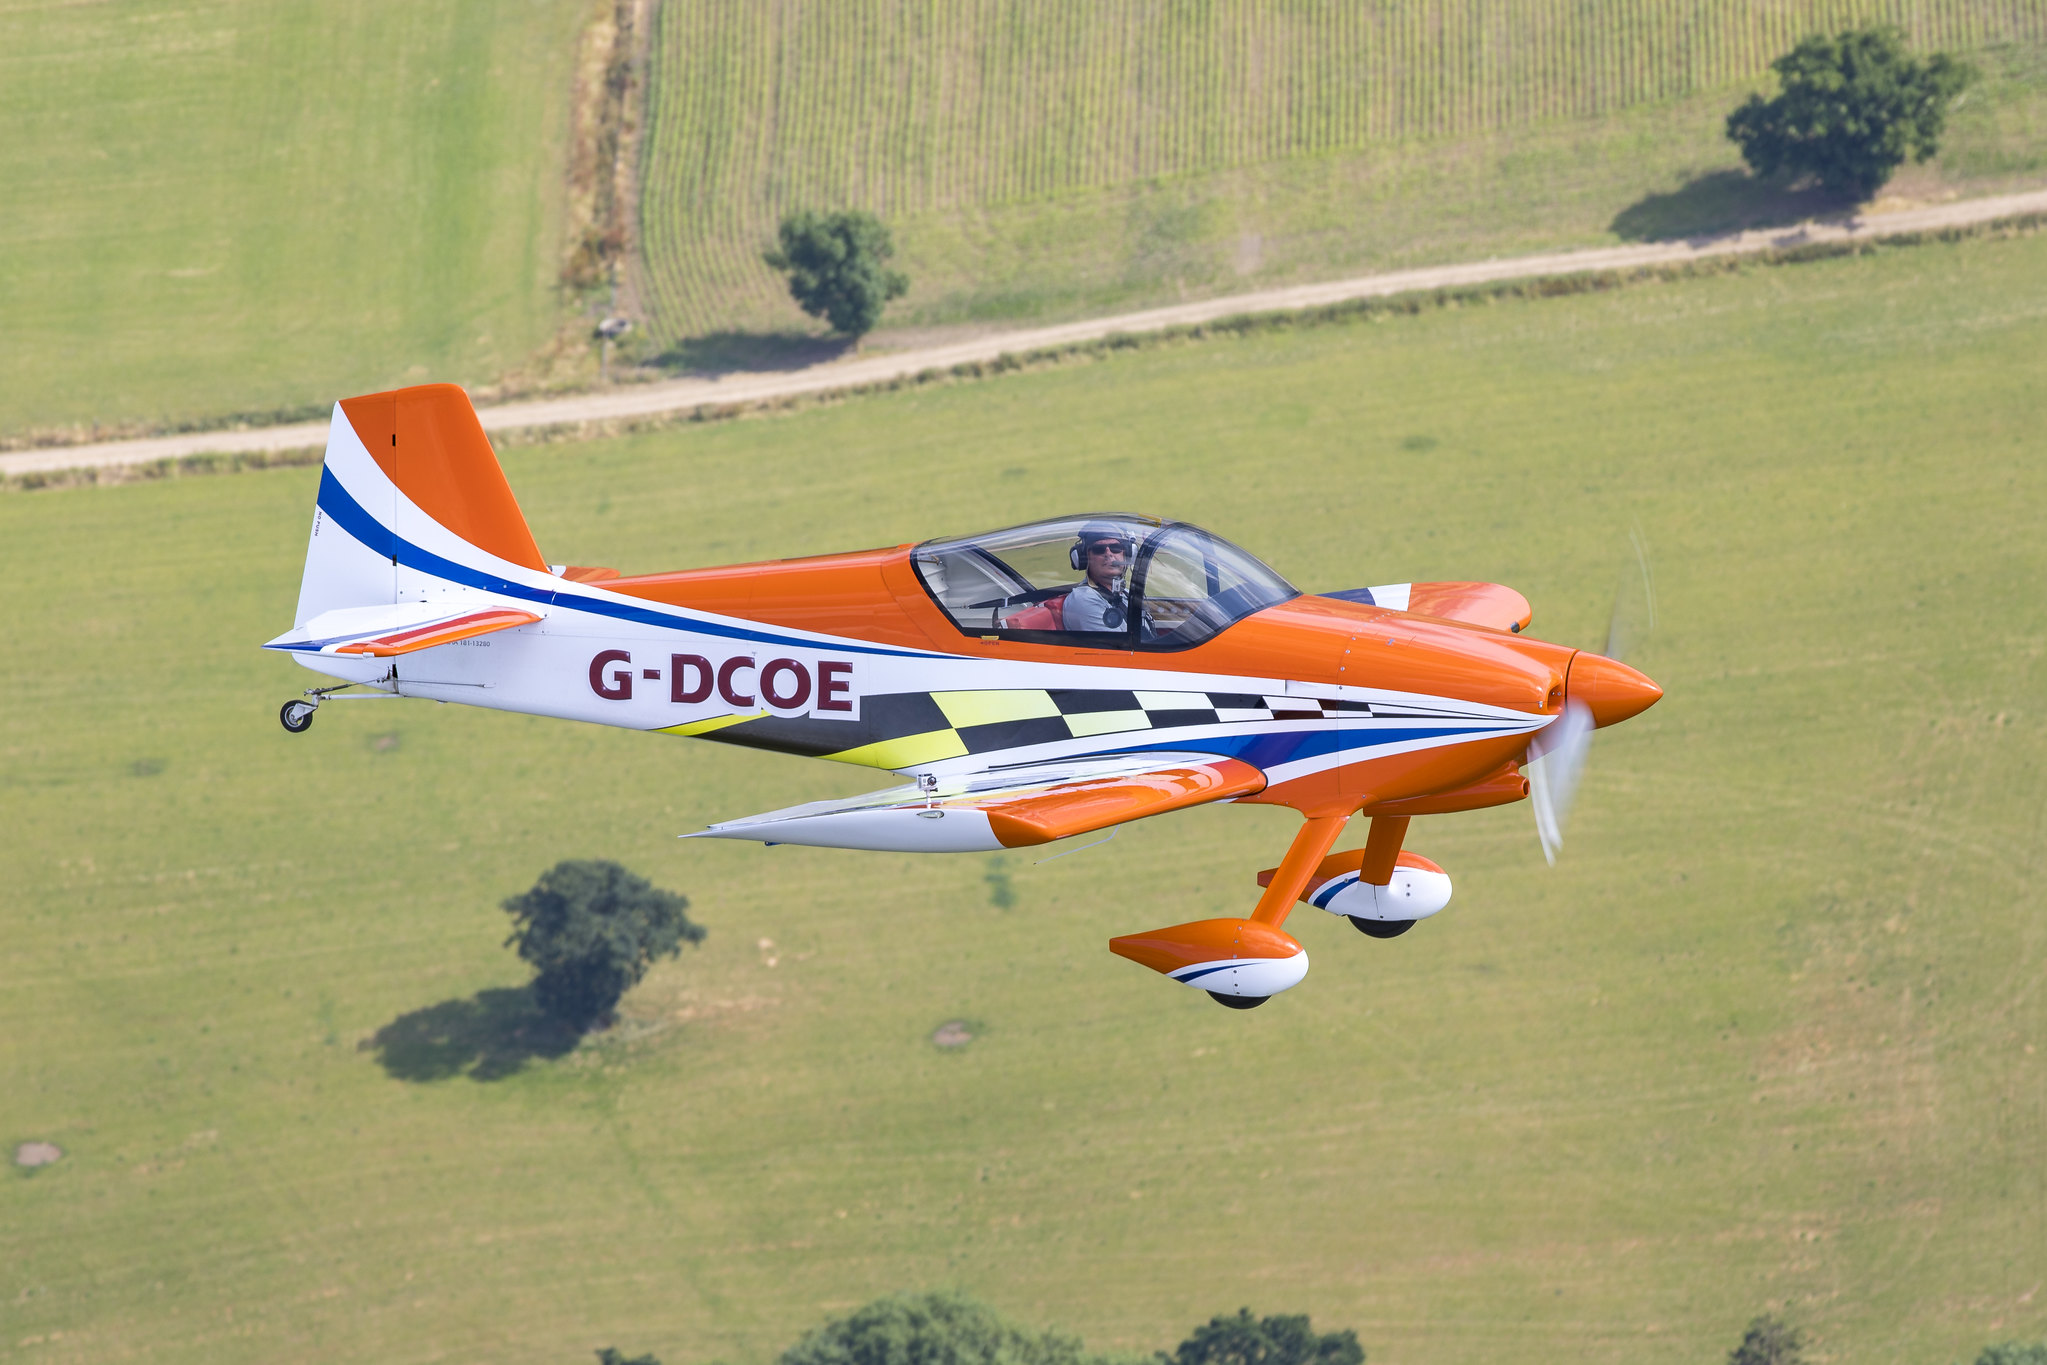
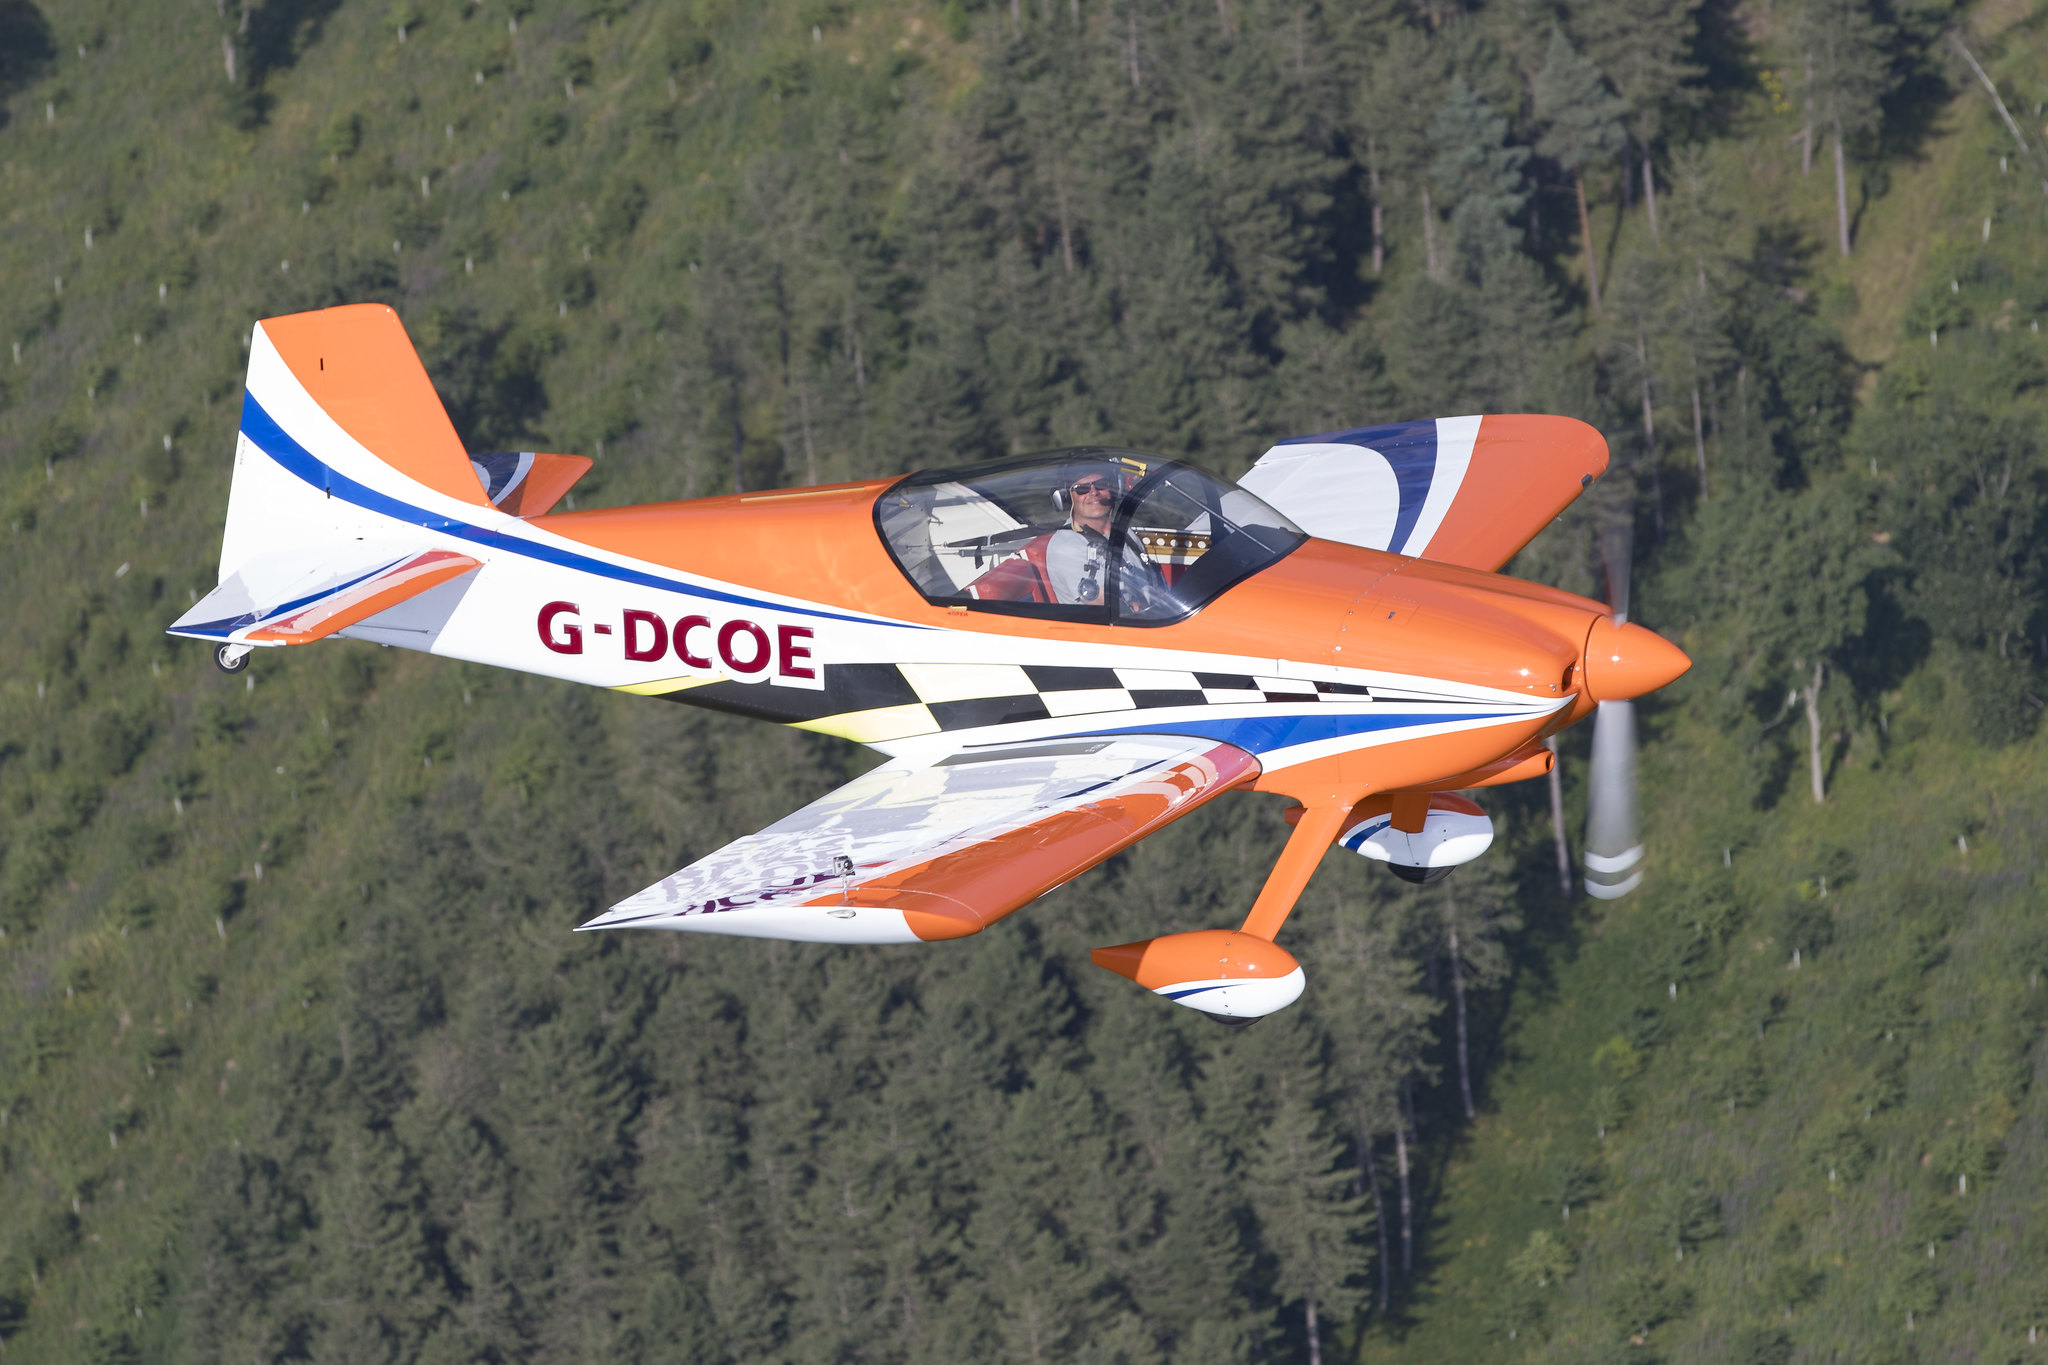
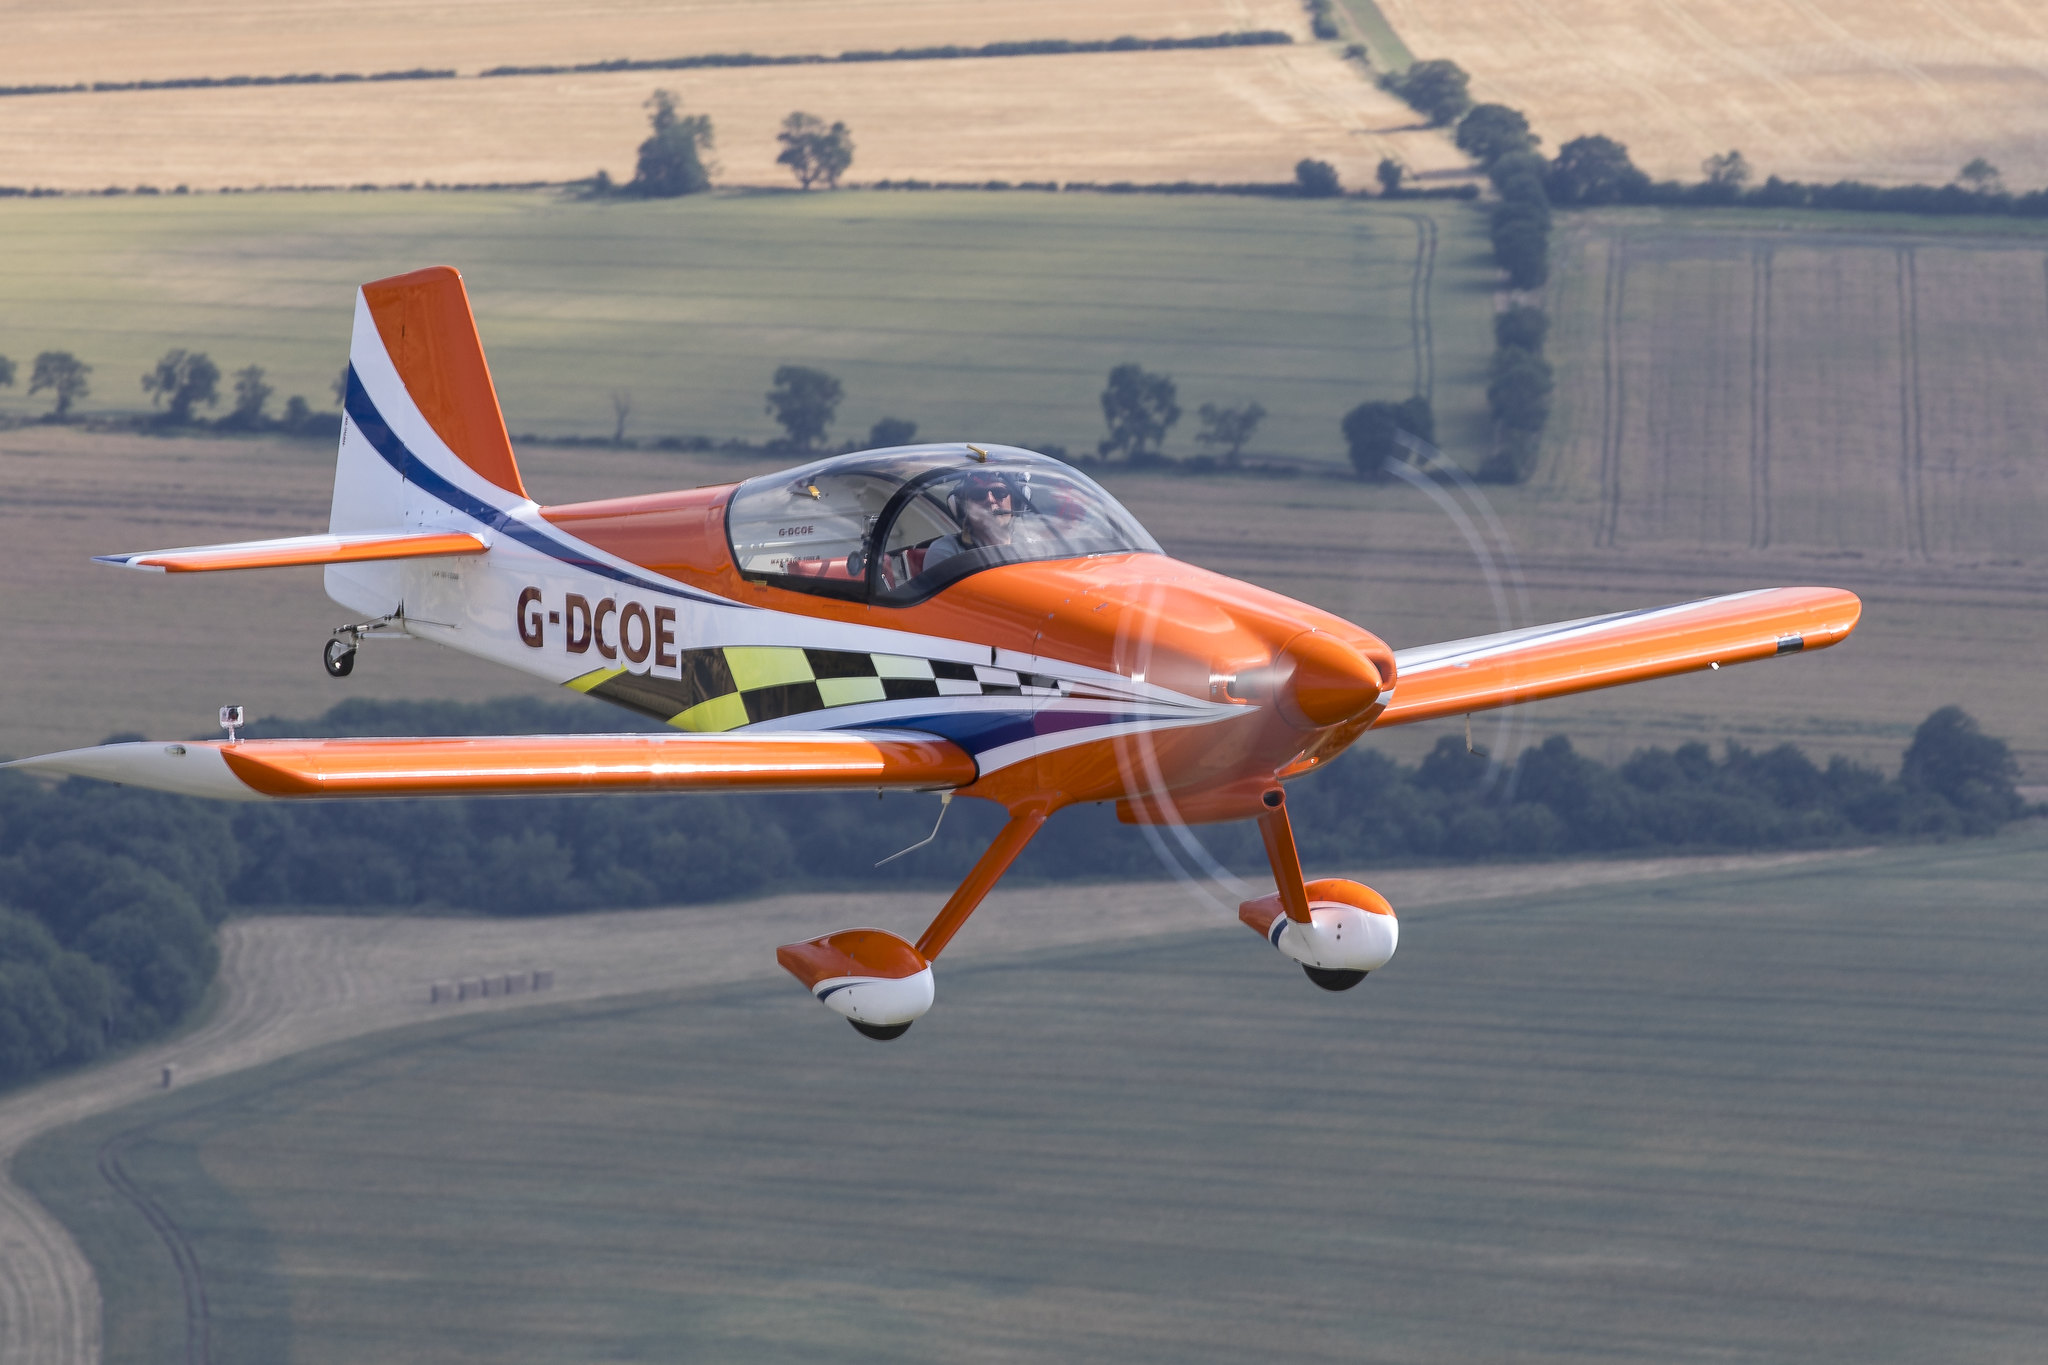
Here's a few of the better shots from our formation photoshoot last Friday. "Blue" is an RV-7 built by Tom Bootyman that started flying earlier this year. "Orange" is my own RV-6. We departed Shackwell Farm in Leicestershire UK and flew around the Rutland Water area.

Thanks to Mark Sharp for flying the (172) camera ship and Ian Bracegirdle for the photography (Canon EOS 5D Mk III / Canon 70-200 F2.8).

[IMG]_MG_0486 by WIGY TV, on Flickr[/IMG]

[IMG]_MG_0475 by WIGY TV, on Flickr[/IMG]

[IMG]_MG_0538 by WIGY TV, on Flickr[/IMG]

[IMG]_MG_0651 by WIGY TV, on Flickr[/IMG]

[IMG]_MG_0683 by WIGY TV, on Flickr[/IMG]

[IMG]_MG_0591 by WIGY TV, on Flickr[/IMG]

.... RV Grins all round !
Posted by flipsideflyer | 07-05-2018 @ 05:52 PM | 21,334 Views
Like many other R/C airplane designs on the market today, this particular model was only available for a short period of time. That’s unfortunate. This plane makes an excellent platform for the venerable, old-but- reliable Zenoah G-62. Having a couple of G-62’s sitting around with nothing to do, I randomly picked the Hangar 9 Inverza 62 for one of my building (assembly?) projects. As of this writing, I’ve logged nearly thirty flights and couldn’t be happier. In fact, it’s one of the sweetest flying giant scale planes I have yet to fly. It’ll climb vertical with ease; handles all the maneuvers that I know how to throw at it and it lands and takes off like a trainer. An added bonus is that its flight characteristics, both upright and inverted, are nearly identical. As I said, it’s truly a sweet flying airplane!


Here is a summary of the modifications I made to accommodate the G-62 engine and to allow me to continue flying from sod and/or unimproved runways.


1. Removed 1 ½ inches from the front of the motor box. First, however, I transferred the original equipment manufacturer (OEM) engine thrust lines from the kit-installed firewall to the outside of the motor box before actually shortening the box. These lines served as a reference for the new firewall installed later. I used a box-cutter to remove the 1 ½ inches from the nose of the box...yeah, it’s soft ply!

2. Cut and installed eight (8) small, triangular pieces of ply to fill in the structure on both the left and right sides of the motor box. Then added a 1/8” sheet of ply over the top of them in order to beef up the sides of the motor box. I then installed a 3/8” ply firewall, adjusted to match the original thrust line, added hardwood triangular stock to all the stress points, pinned and fiber glassed the firewall at the side rails and fuel proofed the section of the fuselage, motor box, etc.

3. Because I don’t run a tuned exhaust, I have no need for the “tunnel style” landing gear. Instead; I can benefit from a stronger gear-mounting platform. TNT manufactures a “flat style” gear that serves as a perfect replacement. To beef up the mounting, I installed a 3/8” ply platform on top of the OEM aluminum rails. The ply platform runs from side to side and from the front bulkhead to the second bulkhead. In order to install the new platform, it was necessary to first split it down the middle (using a squiggly cut) and notching the sides to clear the OEM hardware. I epoxy-glued the entire platform in place, including along the squiggly center cut.

4. Once the epoxy glue had set, I installed a rectangular piece of 1/8” ply to fill the gap between the aluminum rails on the bottom of the platform, again using epoxy glue. I then used foil-backed duct tape to cover the entire gear area...including the small openings and running across the entire platform under the landing gear. Then I drilled the necessary holes and bolted on the TNT gear.


I’m using high-voltage electronics for all except the engine ignition....JR8911HV for surfaces; JR8711HV for throttle and JR RS1222 RCVR. The engine ignition utilizes a 4.8 NiMH 2200 mAh battery while the rest of the equipment utilizes a pair of 2S 2200 mAh LiPo batteries. Once the airplane was fully assembled and with the ignition battery located inside the motor box, I used the LiPo batteries to finalize the CG. In my case the LiPo battery location was ~1 inch behind the spar tube. With the batteries in these locations, NO (as in “zero”) additional weight was needed to obtain the perfect CG. Weight with batteries and no fuel is 18 lbs.


The final touch was adding a nylon “carry strap” around the spar tube to facilitate loading and unloading from my van. I leave the strap in place when flying as it’s in a location that doesn’t interfere with anything inside.


Several miscellaneous tips:

a) Elevator servos: use a long (20mm X 3mm) screw in place of control arm screw to hold servo in place while installing.

b) Rudder: install the control horn BEFORE putting the rudder on the plane. Also, make a decision on tail wheel steering and install any needed hardware BEFORE installing the rudder. Oil the rudder hinges to prevent epoxy from entering and jamming the hinges following rudder installation.
[/FONT]

Posted by Pecanpatch | 07-05-2018 @ 10:22 AM | 21,597 Views
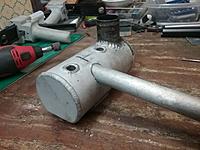
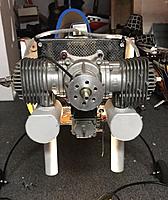
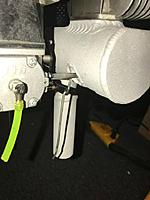
My Buddy Mike Stout had a hard time getting to the needles on his DLE 170CC twin.
He suggested this muffler mod and I made it happen!
I also made the exit pipes the same length... Then re-media blasted both pipes to match.
Later I made him a custom long screw driver to reach through from outside the cowl.

Now Mike is Happy....

Be like Mike
Posted by Ethan Ater | 07-03-2018 @ 11:07 PM | 23,667 Views
Hey Everyone! Here is the first video on the Xtra Vector

The Xtra Vector is a nearly indestructible plane. Perfect for beginner 3d pilots looking for a first Epp 3d foamie kit. It's a CRAZY beast on 3s for those pilots who just want to wring it out! Cannot wait to fly this plane again

plane was flown with the following power with a 3s 450mah battery: https://twistedhobbys.com/power-comb...pitts-tmw-tws/

Enjoy the video

Hacker Xtra Vector 3d Rc Plane (3 min 19 sec)

Posted by Ethan Ater | 06-28-2018 @ 09:29 AM | 24,170 Views
Got to maiden the Punkair Wilco 1.3m RC Hang Glider yesterday and man was it fun! Also got some video so enjoy

Plane was flown along with the recommended power combo provided by Hacker, which is also available along with the hang glider at TwistedHobbys

ALSO: Be sure to check out the official build and discussion thread for the Wilco. First part of the Build Log will be up soon

https://www.rcgroups.com/forums/show...istedHobbys%21

Punkair Wilco 1.3m RC Hang Glider (2 min 11 sec)

Posted by weallfly365 | 06-23-2018 @ 11:07 PM | 17,622 Views
Texan 55 " wingspan
Almost ready to fly
Still needs to be finished

Electric retracts

includes
Brand new Saito 30 4 stroke glow engine
JR brand servos

does not include
Radio
Receiver
Batteries

350$$
Posted by weallfly365 | 06-23-2018 @ 10:57 PM | 17,482 Views
Cosmic Wind Fiberglass 64"

Incuded:
Motor: Moki 180
Servos: Hitec

Does not include
Receiver
batteries
transmitter

450$$
Posted by weallfly365 | 06-23-2018 @ 10:38 PM | 17,254 Views
1/6 Scale Spitfire MK 1 72 inch wing span

Air Retract System!

Includes
Motor: Moki 210
Servos: Hitec
Receiver: Futaba
Batteries for both receiver and engine included!!!

Does not include transmitter

1000$$$
Posted by weallfly365 | 06-23-2018 @ 10:28 PM | 17,015 Views
Top Flite 1/5 Giant P-51D Mustang 84.5" wingspan

Air Retract system

All Included
Engine: 3w 55i
Servos: Hitec
Receiver: Futaba

Does not include
Receiver battery or Transmitter

1500$

1700$ with futaba 2.4 G 10 channel radio
Posted by RCMC | 06-23-2018 @ 09:54 PM | 18,218 Views
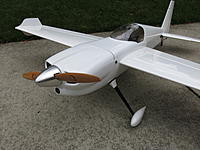
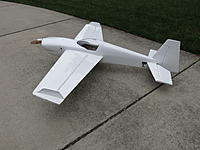
This plane is the 3D Hobby Shop 75" Edge 540. I'm partial to white planes so I took the orange color scheme and stripped the covering off right out of the box and recovered it in UltraCote White.

The plane has a new DLE-35RA motor and Hitec 7954 servos all around. The elevator and rudder servos are equipped with SWB arms. It has a Tech Aero cutoff switch and an Emcotec switch from Esprit Model in Florida. It also has a Xoar 20x8 prop inside a Tru-Turn 3.5" Spinner.

The motor cowling and canopy were painted in a local auto body shop and the paint looks like a car finish.

Note: Sold on May 18, 2022
Posted by Ethan Ater | 06-22-2018 @ 01:32 PM | 22,256 Views
I’ve always wanted to try a video with stick movements. Here is my first attempt! Enjoy

Oxy 2 RC Helicopter (1 min 55 sec)