|
|
|
|
|
|
|
Cowling installation
Hello everybody,
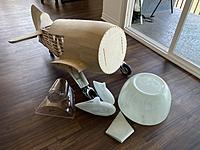
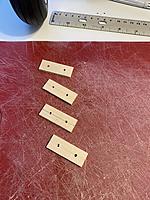
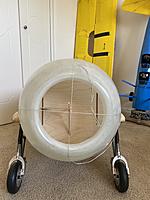
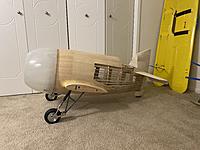
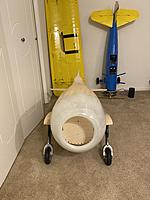
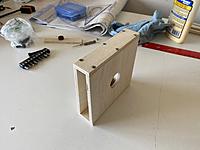
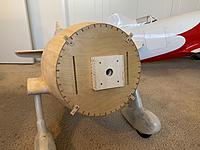
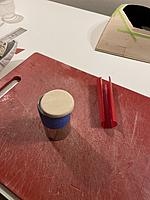
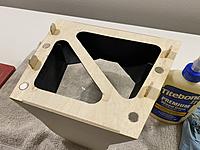
Yesterday I received the cowling, wheel pants and fairings. I proceeded installing the cowling. I wanted to have hidden screws so I made small supports that you can detach/attach from behind the cowling. Because I didnít have the stand off for the DA100 I had to put a guide so I could center the piece in the fuselage. This step made me struggle a little, but after a few trial and error I was able to get it done.  The quality of fiberglass specialities is top notch. |
|
|
|
|
|
Picking up Comp Arf Geebee
Hi everybody,
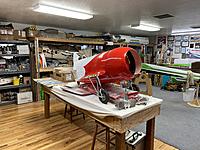
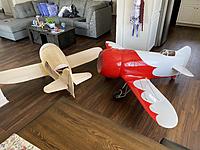
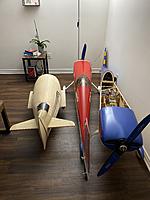
Itís been few days since I last posted. Last weekend was great because I had a road trip to Salt Lake City to pick up my new acquisition  Thank you Joe for your hosting and for showing us your shop. It was nice to meet someone with the same passion for the hobby. We look forward to flying together in the soon future. This Geebee is the Comp Arf, and I will be assembling it as soon as I finish the Hostetler. Stay tune for updates 
|
|
|
|
|
|
Wheel pant installations
Hi everyone!
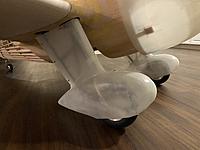
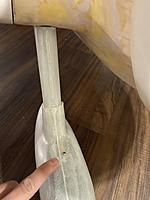
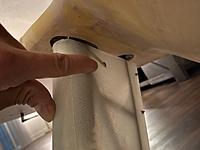
This are some pictures of how I installed the wheel pants. These are the fiber glass specialties, quality is very good and fitment too. Two secure them in place I installed in the landing gear two brass rods and then secure them with wood screws as shown in the pictures. Only 2 supports per wheel pant are enough to provide solid support. Best Benji |
|
|
|
|
|
|
|
|
|
|
|
|
|
|
|
|
|
Engine mount
Hello everyone!
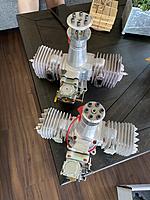
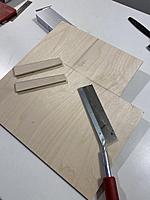
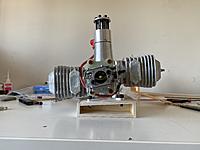
Itís being a few days at work, but I have been doing some progress in the Gee Bee. This week I build the engine mount. For this I used 1/4 inch aircraft ply. First I drew the geometry in cad so I could get all the exact measurements. This base has 3.5 degrees of right trust to compensate for the big propeller that the DA 100 will swing. The base is glued with wood glue and then wood screws added to reinforce the joints. Once assembled, it was fitted in the firewall and glued with gorilla glue and tied back with wood screws from inside out. I left the base opened to give me enough room for the bolts that will support the engine. So far it feels very firm. This next few days Iíll be working on the hatch. Benjamin |
|
|
|
|
|
Hey Benji
I use to shoot a lot of Butyrate dope or Hobby Poxy years ago, both were great paints. In recent years I have shot Klass Kote Epoxy and the stuff is great paint. I have shot some duplicolor on a few canopies, basically just for the canopy outlines on a few ARFs I had and it worked well. As far as having any better suggestions I don't...lol. I would have to do some research on todays paints and what guys are using if I had a complete airframe to shoot if I wasn't going to use Klass Kote. Can't wait to see your finished GeeBee. I'm sure it will be a masterpiece 
|
|
|
|
|
|
Canopy
Hello everyone!
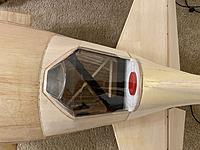
Here are a few pictures of the construction of the canopy. I tried 2 different ways to build the canopy but I wasnít coming with successful results. So my third try and final is as shown below.  The floor is made of 1/8 ply with lightening holes. The front and rear covers are also 1/8 ply but I added another 1/8 balsa sheet to them. This balsa was carefully trimmed down to receive the balsa cover. Then I test fit the plastic canopy and marked it over the balsa cover. I made a small bevel in the balsa cover to receive the plastic canopy and to get a flush finish. I used shoe goo to glue it in place. The pilot head rest is made with 1/4 balsa and then covered with red ultracote. In order to hold the canopy in place I opted for magnets. With the dremel I made a small indent for each of the Magnets and then epoxied in place. The canopy is now ready for final glazing and painting. Iíll post pictures once I finish it. Benjamin |
|
|
|
|
|
Belly access hatch
Hello everybody!
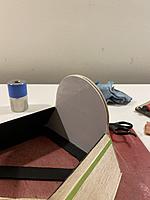
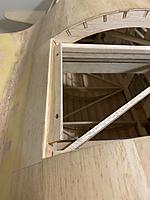
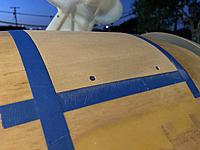
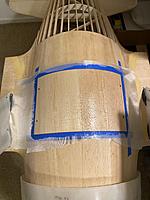
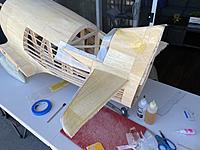
I hope your are staying well. Today we are going to proceed with the construction of the Belly access hatch. In order to replicate the existing opening shape I created two templates out of cardboard. These created the front and back end. Then I joint this two with stringers. I tested fitted the hatch in place and then I sheeted with balsa. Laid out the bolt holes and with the dremel I did a small indent to hide the screw. Then I fitted the hatch back in place and put tape around the opening and then glazed the hatch in fiber glass. Best Benjamin |
|
|
|
|
New Mexico
Joined Sep 2007
453 Posts
|
I don't have the ballz or the skillz to fly something like that, but it is a pleasure to ride along with you. Looking forward to the maiden.
|
|
|
|
|
|
Rear fuselage glazing
Hi everyone
 After few hours of sanding, itís time to glaze the rear of the fuselage. This stiffen the entire fuselage and even the rudder feels solid. I topically wait 24 hours before sanding the fiber glass. I shot a few pictures of the finished sanded fuselage. The next step was to cover the open areas with cloth. I will be shooting some pictures once I start this. Best Benjamin |
«
Previous Thread
|
Next Thread
»
| Currently Active Users Viewing This Thread: 1 (0 members and 1 guests) | |
| Thread Tools | |


 Really nice-looking gear , Where did that gear come from?

