|
|
|
|
|
|
|
Ok so what we are going to do is a continuation of the actually step by step build thread on Andrew, Jasons and Kevin's planes. Andrew and Jason plan of flying them at the Tucson Shoorout later this year. Andrew's is way ahead and you will see it in the background, We basically just have to finish off the wings then cover.
Since the motor box is quick to assemble I will show some pictures. It take about 15 minutes to assemble. We assemble it then us Hysol and the Hysol gun to lay a bead of expoy down. That takes over night to cure. |
|
|
|
|
|
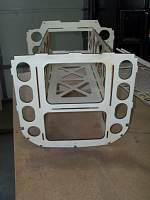
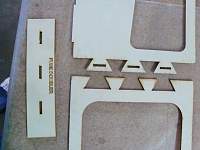
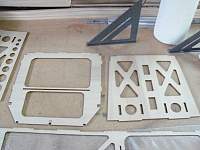
here are the next couple of parts to the motor box and it assembled.
|
|
|
|
|
|
We have a lot more picture and will continue to post them. We want to show how easy this builds ( or they build as we are doing 2 at a time)
If you have any questions during the build we will be glad to answer. Jerry is also a VERY GOOD source of info on the design and build. Thanks Al |
|
|
|
|
|
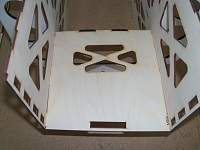
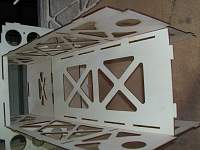
Ok, so now the motor box is framed up so its time to start on the fuse. The fuselage build is fairly simple and self aligning. no jigs or special tables needed, just some room to work. Now we have the option to build the fuselage sides or the fuselage Top Plate. The Top Plate is tabed and notched. This is the back bone of the build ( no pun intened )
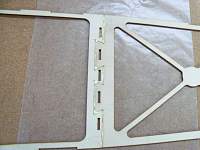
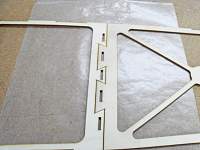
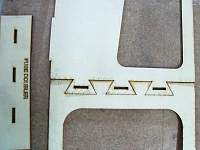
We'll start with the fuselage top. Its all of two pieces they are tabed and notched to fit together. What we have is a picture of both pieces, a picture of the joint showing the tabs and glued together. Thats done for now lets slide it to the side and work on the fuselage sides. |
|
|
|
|
|
here are a couple more pictures of the Top Plate glued together. After we build the fuselage sides we will come back to this and install all the formers.
|
|
|
|
|
|
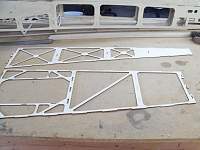
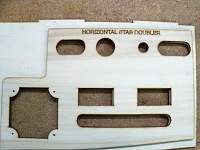
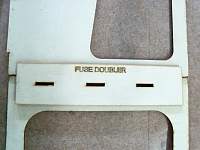
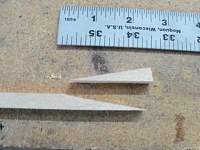
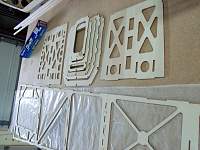
The fuselage sides consist of two main pieces the fore and aft section of the fuse, The plywood doubler (fuse doubler) for the joint where you join the fues and the horizontial stab doubler for the aft section. We will also need to make the top and bottom longeron which will include making a scarf joint. Here is a picture of the parts for one side of the fuselage. hard to determin but shown are the 3/8" square balsa used for the longerons but we'll get there.

|
|
|
|
|
|
What I like to do before gluing the fore and aft sections together is install the doublers. We will show the horizintial stab doubler being installed and aligned using the tail tube phonolic. When aligning using the tail tube you need to make sure the tube goes through the doubler and aft fuselage, Then align with the rest of the cutouts. I use tightbond to glue the doublers in. By the way we spread the glue out, just wanted to show it. Spread it thin and wipe away the overage.
|
|
|
|
|
|
Next we will glue the fore and aft fuselage sections together and add the doubler. After we glue the doubler in we want to take former F5 and align the tabs into the slots on the doubler and fuselage. Remover the former once aligned and put some weight on it and let it cure.
|
|
|
|
|
|
We just need to make the longerons and install them. Not to hard so far

|
|
|
|
|
|
Now make the other side and here you have the basics for the fuselage
|
|
|
|
|
United States, FL, Palm Bay
Joined Mar 2008
1,331 Posts
|
SO EASY DRILL SARGENT ...SOOOOO EASY
   
|
|
|
|
|
|
The following pictures may be slightly out of order but hopefully you follow.
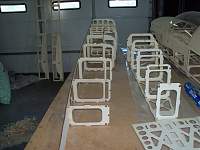
At this point we are ready to start placing the formers for the fuselage. You can do it a couple of different ways but we find it easiest to glue the formers to the top plate first. So basically all we are doing here is taking titebond and gluing in the formers to the top plates. After we put them in place we go back and use a square to square them up and just tack them in place with some thin CA while the titebond is curing (this lets us continue working while the titebond cures). |
|
|
|
|
|
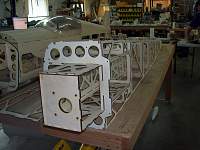
Once we have all the formers in place we are ready to drop the motorbox into its slots. Normally we glue the motorbox to the top plate with titebond as well but this time I wanted to try the Hysol E-20NS to see how well it worked and how fast it cured. I am pretty happy with it, it worked nicely and cured pretty quickly.
Ignore the post it note, I am not quite sure how our shopping list for bolts made it in the pictures! |
|
|
|
|
|
Ok, here is the final set of pictures for the morning.
After the motorbox is glued in we are ready to glue the fuse sides on. It is pretty simple, all you are doing is taking titebond again and gluing the edges of the formers, tabs and top longeron so when you put the sides into place you have good strong joints. To help make sure everything stays in place you can use clamps to hold the pieces or actually masking tape does a pretty good job. So as of this morning we have about 10hrs total into Shulman's and my airplanes while also taking pictures and sanding the wings on Jesky's. Shulman's has all the sides on and ready for us to glue in the bottom stringers and start working on the hatch. Mine is one step behind ready to glue on the fuse sides. |
«
Previous Thread
|
Next Thread
»
| Currently Active Users Viewing This Thread: 3 (0 members and 3 guests) | |
| Thread Tools | |


