|
|
|||||
|
|
Build Log
Electrifying Extreme Flight 104" Extra 300
Firstly, as a person who has successfully electrified a couple of 60cc size ARTF aircraft I thought I would see what I could successfully manage with a 100cc. I chose the EF 104" Extra as my other EF kits have excellent in quality and flight capability.
My inspirations are :-
I am reassured it can be done despite a few doubters trying to put me off! Time to start ....... |
||||
|
|
|
|
|
|
|
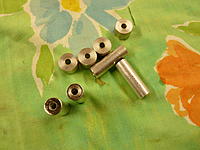
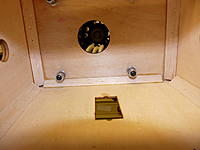
First I started with finding some suitable standoffs. With the cowl bolted on the motor box wall to the prop driver opening is 7 1/4".
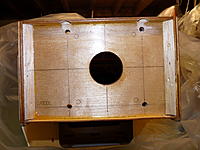
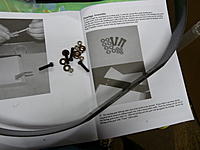
My chosen motor is the Turnigy CA120 150 Kw. the reason I chose this one is firstly, as a experimental venture I didn't want to "sell the house" so chose a budget motor with albeit some good reports. Motor has a depth of 4 3/4" (or 122mm) which means I needed standoffs of a minimum of 2 1/2". I found some steel pillars drilled for 6M bolt and just needed an additional spacers for around 10mm to make up the distance. Next I re-drilled out the motor box wall as the holes provided are for a DLE 100cc |
|
|
|
|
|
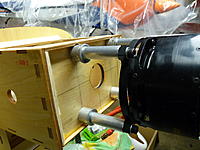
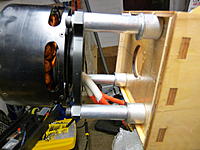
It was a simple job to bolt the motor on using thread locker.
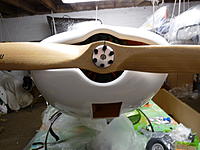
Cowl refitted and seems fine at the prop driver. |
|
|
|
|
|
Tidy inside too.
Next job was to drill out the wooden prop for the 6 bolts. |
|
|
|
|
|
There was the option to purchase the Turnigy FatBoy V2 300A Opto ESC, but I heard some reports the programming card didn't work with it.
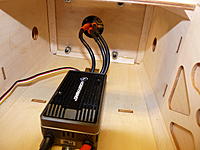
Instead I chose the HobbyWing Platinum HV 200A OPTO V4.1 with Programming card. Plenty of space up front. |
|
|
|
|
|
All the 7mm bullet connectors had to be soldered to the ESC which I took some time over. The same goes for the motor wires. I decided on the simple job next of fitting the U/C. I always do this job early on so the fuselage has something to stand on while I work on it.
|
|
|
|
|
|
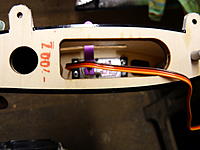
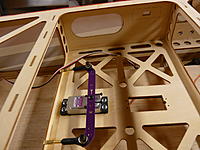
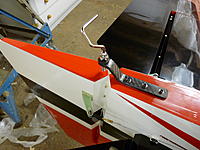
I am using Macgregor MG7232 HV digital metal servos all round including 2 per aileron, 1 per elevator and 1 for the rudder. They should be enough for my style of flying! I started on the elevator halves. Bit fiddly, but got there in the end. The film needed trimming and the elevator halves horns were secured with Gorilla Glue which is my preferred method.
That's all for today. Catch up later in the week. Thanks. |
|
|
|
|
United States, MD, Parkton
Joined Jun 2008
1,508 Posts
|
I don't think there has ever been any doubt that there are a number of electric options for the plane you have. Practically speaking, if you can be satisfied with 6 minute flights, your good to go.
|
|
|
|
|
|
That's what I want to achieve Flybye Steve. 6 minute aerobatic flights is as far as my concentration goes!
|
|
|
|
|
|
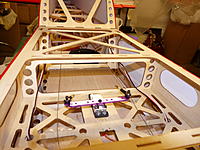
I forgot to mention I am using a 28x10" prop for starters. Threaded the elevator servo wires and I used 2" servo arms for the elevator. Next on to the rudder using Gorilla Glue to stick the horn in after first cutting the film and slots. Next the Rudder servo with the pull/pull wires thread through.
|
|
|
|
|
|
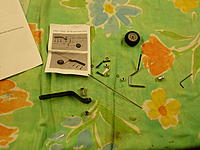
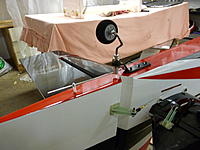
thought I might as well fit the tail wheel assembly while down that end. Glad to see it is a good quality one too. Instructions are simple and there it was not a long job.
|
|
|
|
|
|
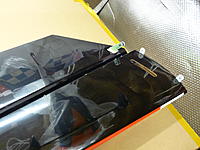
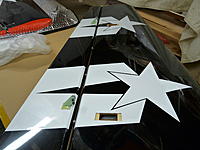
On to the main wing. As mentioned previously I am using two servos per aileron and rather than programme at the TX I am using PowerBox MicroMatch units to synchronise the servo throws/centring.
|
|
|
|
|
|
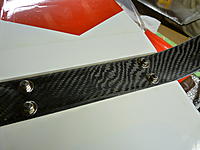
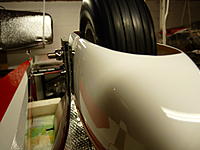
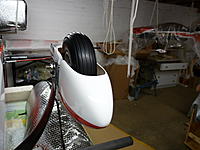
Undercarriage wheels and spats next. I always us the spats if only to ensure I concentrate when coming in to land!
|
|
|
|
|
|
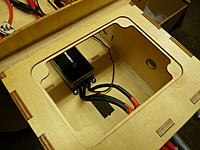
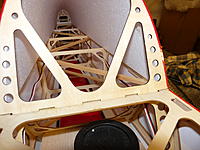
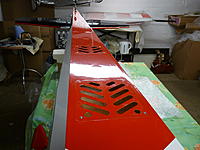
There are helpfully two vented hatches that are on the underside of the fuselage that are screwed in place. One has to firstly cut the film from the fuz and then open up the covering on the vents. A sharp scalpel blade essential here.
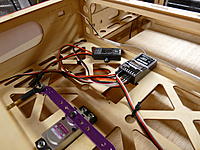
Next I started to think about the internals layout. I started with the RX and RX HV switch that serves the RX power source. Given the ESC is an OPTO I am using a 3.6A 2S lipo. No voltage reduction required as the servos can handle lipo's voltage. Given the motor is 2.7kg which is a good 0.5kg heavier than the comparable Hacker Q100-7M I was pretty certain the power packs where going to have to be behind the wing spar to achieve the correct CoG. So it proved to be. |
|
|
|
|
|
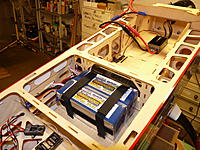
Here are the final resting place for the power packs. To save some weight I am using a pair of Overlander 10A 6S wired in series to get the required performance. There are rate ar 20-30C which I know you should take with a pinch of salt, but I am only looking to push 200A through the set up
|
«
Previous Thread
|
Next Thread
»
| Currently Active Users Viewing This Thread: 1 (0 members and 1 guests) | |
| Thread Tools | |


