|
|
|
|
|
Build Log
Phoenix Models F4U CORSAIR 20cc
Hello Everyone! Had a Tuff couple of years, and had to temporarily stop RC because of cancer in immediate family. Now everything is back to normal and doing well. So as I am swinging back into the Hobby that I have always loved, I wanted some new stuff to fly. So, I just finished a Bill Hempel 1/4 Scale L4 Grasshopper. My buddy Henry, built the L4 Long before I built this one, and was instrumental at helping me get back into things. She flies great, I maidened her two weeks ago, and determined how rusty My skills had become. Here are some build videos he provided for his L4. If you are interested in the Bill Hempel 1/4 Scale L4.
https://www.flyinggiants.com/forums/...91#post2902027 Henry did a very Nice Job!! After getting my fingers moving again, I found myself hungering for something a little sportier and faster. So I have had my eye on the Phoenix model Corsair for a while. Usually it is out of stock, but I finally caught it through Tower Hobbies and got one delivered by Fedex this past Thursday. I picked the 20cc version over the 60cc because it was just to large to transport in my vehicle. So out of the box she looks great! My RC buddy was video taping the unboxing and as soon as he gets it downloaded from his camera. I will post the unboxing. I will also post my build with mostly photos and potential some other videos. Please stand by for the forth coming Build |
|
|
|
|
|
|
|
The Box
Here is the box!
|
|
|
|
|
|
Saito FG33R3
I think it would fit. I read on RCGroups some one had written about it. The cowling inner diameter is 7.5 inches. So I think it would fit.
|
|
|
|||||||||
|
|
The Unboxing Video
|
||||||||
|
|
|
|
|
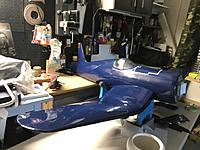
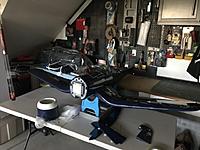
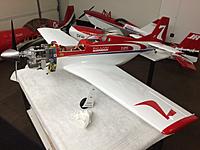
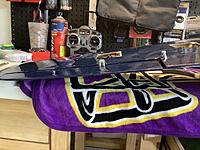
When we finally got the box opened, (know how muchĒ WeĒ love this warbird and the P51) we had to put the wings on just to get a glimpse of that Corsair shape in my garage.
|
|
|
|
|
|
Here is the plan for this Build
Phoenix Models 20cc F4U Corsair
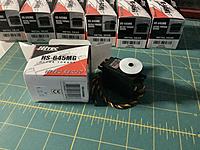
- Iíll be using a Spektrum DX 18 -Spektrum AR8010T Reciever - Hitec HS-645ís (7 of them) - Hitec HS-425BB (1 throttle servo) I like digital servos but my local hobby store had these in stock at an internet price. Thanks Tom Eagle Hobbies Suffolk Virginia. https://www.eaglehobbyshop.comBesides they have more than enough power for this application. -Power Train. Iím on the fence with power. I like having more than required. The DLE 20 fits and it is desired for it. But itís a rail install, like glow. So Iím leaning toward the DLE 30 or 35RA. -Power. Two 2S Life packs one for ignition and one for servos. Not sure brand yet. -Retracts System. It comes with really nice gear. They look awesome. However. The two valves do not appear to be of great quality. Other websites have had some good and mostly bad reviews of the two valves. Iím going to cut my tubing lengths per instruction, and bench test it all out of the airplane. Put it through its paces, and if it holds up Iíll go with the complete stock gear set. At a minimum I imagine I may have to replace the two valves with Robert valves. So stay tuned. Iíll try to post a little as Iím able. |
|
|
|
|
|
The Aileron and Elevator Hinges
So to me this particular airplane teeters on the edge of glow and large scale airplanes. On glow I have used these hinges (sometimes called CA hinges or fabric hinges). They work great on small glow airplanes. IMHO, I felt that these are substandard for this application. So I decided to go with the Robart style Steel Pin Hinge Point hinges. I felt that due to my power choices and the strong servos, I wanted the flight controls to be rock solid.
|
|
|
|
|
|
Aileron and Elevator Hinge Points
So I have never changed from the felt CA hinges over to the Robarts before. Just saying this is a new experience for me.
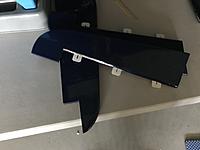
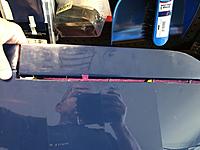
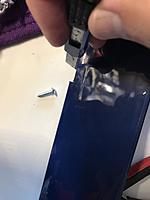
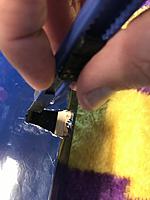
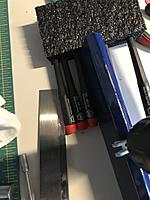
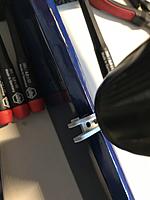
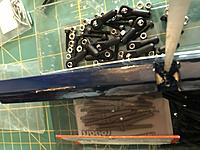
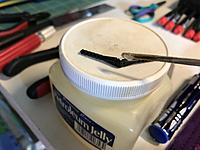
My friend Henry had a ton of the Robart Hinges, and he had the jig to drill them. So my next concern was in getting the holes from the wing and horizontal stabilizer in the exact location to line everything up correctly. So I pondered over it and had a revelation. Why not cut off the head of a wood screw that I could screw into each hole to help transfer the location where my next hole would go. So I drill the first one using 1/8' drill bit using the Robert Jig. I lined that first hole up with the one that was on the airplane and dropped a hinge in it, drill the next hole. I put the wood screw into the new hole slide the hinge into the hole in the surface (wing/elevator) and made my next mark. I cut off the head of a push pin and stuck that into the transferred make then slide the jig over it and drilled the next hole. Then I kept doing this sequence until all of the holes were transferred. I fitted it several times and noted that the hinge may have been a poor choice because now the flight control surface stuck out too far from the wing or the elevated respectively. So I came up with a solution. That angle that is designed into the flight control to allow it to move up and down, I can cut into it and bury the hinge into the flight control to allow it to butt up to the wing or elevator. Then I cut the covering away from the mounting area of the control arm on each aileron. Fitted the control arm and dropped CA glue down into each hole and screwed the control arm in place. I also "on the wing" cut the covering away from the exit point of the flight control rod from the servo out to the aileron. There are little covers that go over these. I will apply them later. I then lubricated each hinge point with vaseline to prevent the epoxy from lock the joint of my hinges. Then I applied epoxy to each hole and each hinge shaft, and then pushed them together until they fit perfectly. Please enjoy these posts, and in advance I will try my best to not take any criticism personally. I know that some people have strong opinions and can be very blunt about them.
|
|
|
|
|
|
Very nice Flathatter! I recently put together my first Phoenix models ARF and gotta say, I am very happy with the plane. I chose the Strega Mustang and have had my eye on this little Corsair also. I didn't use the CA hinges either. The way the leading edges of the surfaces and the trailing edges of the wings and stabs are built in the Strega the hinge points were not an option, had to go with Du-Bro Flat hinges. I ended up replacing all the hardware that came with the kit. A lot of it was usable just wasn't to my liking...lol.
If the Corsair flies as well as the Mustang you are gonna be a very happy man! I'll be following along with your build. Very interested in one of these Corsairs. 
|
|
|
|
|
United States, ID, Nampa
Joined Jan 2006
520 Posts
|
I have one with a Saito 1.80, flies awesome! Went with DuBro flat hinges on the elevator and ailerons, all the other surfaces are hinge points from the factory. I won't use CA hinges. Buddy just bought one and said the FG-33 radial does fit

|
|
|
|
|
|
Well if the FG-33 fits almost have to have one now!
That little Phoenix 30cc P-47 is also awful tempting! Can't beat the price on these little Phoenix Warbirds. Even better bought from Tower with a discount code. |
|
|
|
|
|
Thanks for the comments guys
Crosswind is that at DLE35RA in the Strega? That is a sweet looking airplane, man. I saw it on Phoenix website. I bet she is fast. Have you ever clock top speed? I was think a radial, but they are so expensive. A radial would just sound soooo goooood!
 Where do you get discount codes? Where do you get discount codes?
|
|
|
|
|
|
Wing Servos, Linkage for Ailerons and Flaps and Wing Cowl Vents
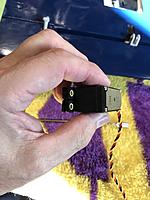
So today I wanted to tackle at least getting the servo and linkage set. So I figured out neutral linkage length for each and made them identical lengths for each Flap and each Aileron linkage collectively. Since I went with analog servos I had to set everything from the Radio. Great thing about digital is you can setup all of your servos (Hitecs) with the servo programer. Makes it so much easier, but this worked.
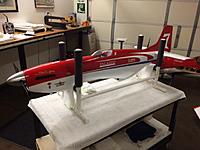
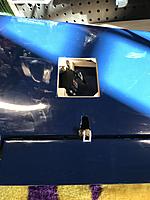
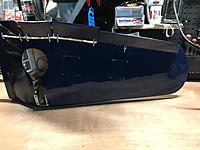
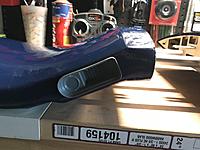
Ailerons. Subtrimmed all four servos (both aileron and flaps) of them to center, set the full travel range, set low rate on ailerons as per instructions to 12 mm up/down, 15 mm on medium rates, and not per the book set high rates at 20 mm up/down. Flaps. Set two stage flaps mid flaps at 15 mm and Landing flaps at 25 mm down. Pseudo Engine Cooling vents. I cut away the covering where these vents are in the proximal wing surface, and ironed down the excess, Then cut the Pseudo-vents out from the molds to fit. I have not glued them in yet but they look good. Finished for the day. So I finished up for the day by putting the wings back on the fuselage for an op-check.
|
|
|
|||||
|
|
Here is an op check video
|
||||
«
Previous Thread
|
Next Thread
»
| Currently Active Users Viewing This Thread: 3 (1 members and 2 guests) | |
| kwilliby |
| Thread Tools | |


